Power Automate: Send Dynamics 365 Email Using Common Data Service
Power Automate comes with a default Mail connector that we can use to send Emails easily, this just requires us to have the email addresses along with the content of the email. But if we want to send an Email with a mix of both static email address which do not resolve to a record in Dynamics along with the normal Dynamics records, we would need to use the Common Data Service(Current Environment) connector. Ideally we should just be using records in Dynamics but I'm also adding in a static email address to show how we can accomplish this.
In this post, let's look at how we can accomplish this.
Scenario: Let's consider an example where we want to Email a report that runs on a schedule and needs to send Email to a few users in Dynamics 365 along with a user(email address) that doesn't reside in Dynamics.
Let's begin!
Start by creating a new Power Automate from a solution so we can reference the Common Data Service(Current Environment).
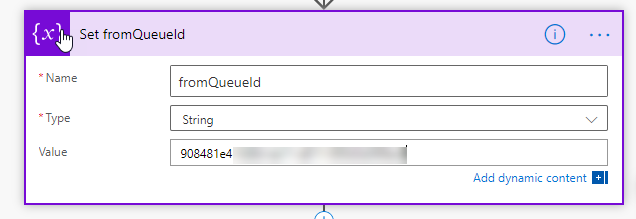
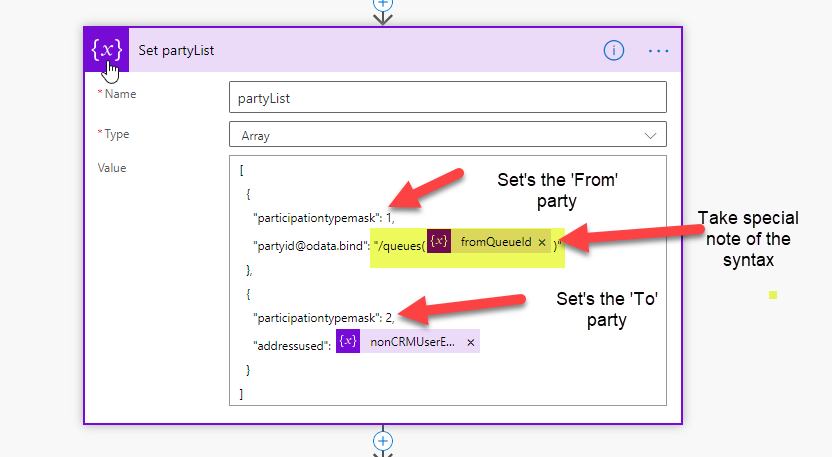
We will use a Queue as 'From' for this email, by storing the Id in a variable.
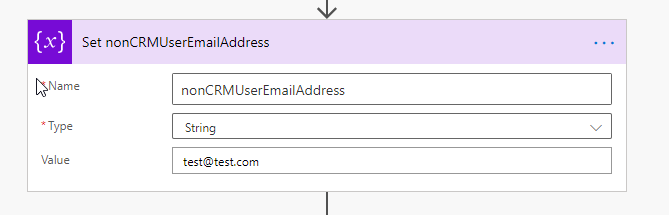
For the non Dynamics user to be set in the 'To' list, I have created a variable to store the email address. If you have more than one user you can use an array and loop through to build the party list which we will look at shortly.
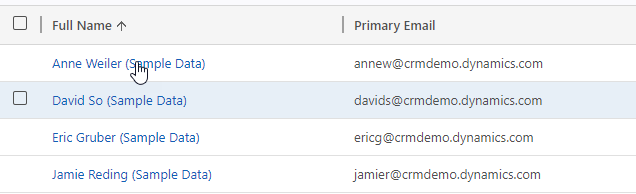
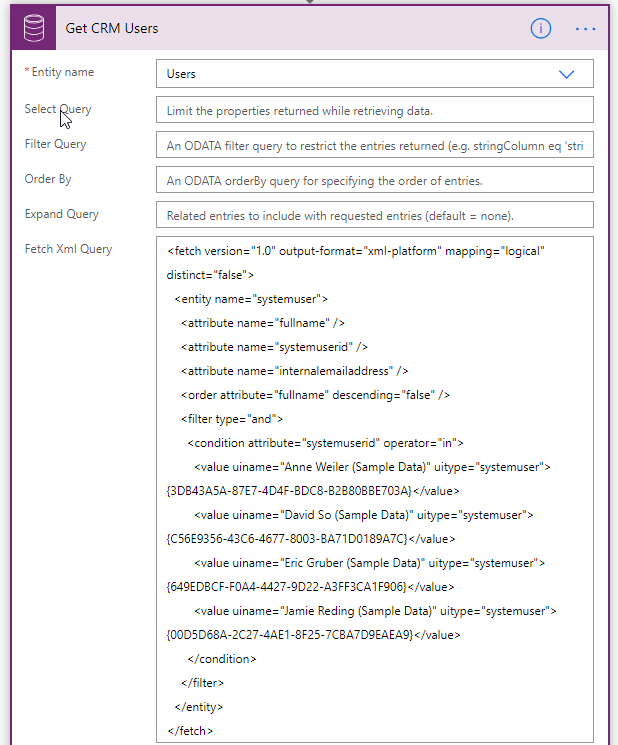
For the Dynamics users I have created a view and selected a few users, I will be using the FetchXml for this view to build the 'To' activity party list.
Next let's retrieve these users in our Power Automate
We now have the data that's needed to build our activity parties. We will be using a single array to specify both the From and the To activity parties needed for the Email record creation.
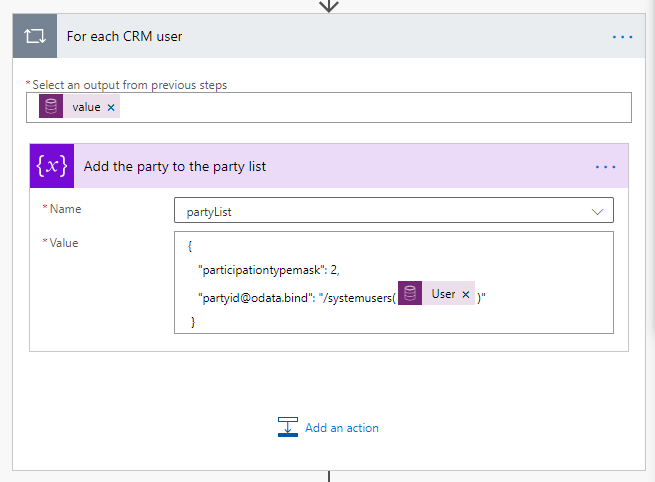
Now let's loop through the users and append each user as an activity party to the party list.
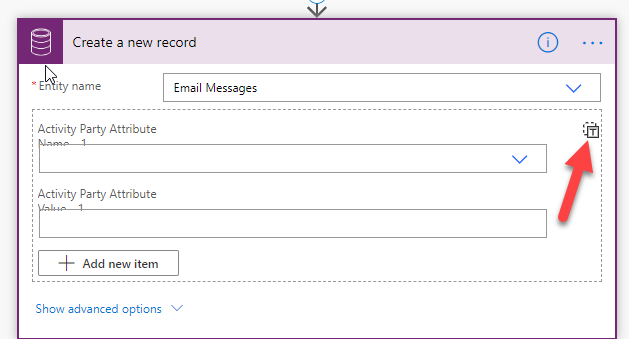
Our activity parties list is now complete, we now have our required parameters to create the Email record. Since we built our party list let's switch the view to input our party list
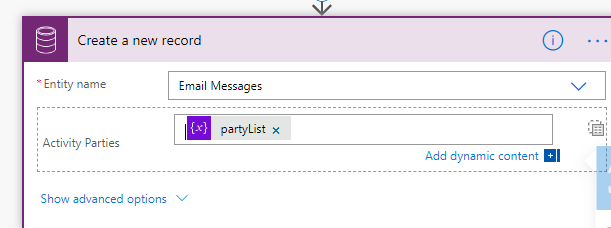
We should be able to set our array variable as below, click 'Show advanced options' to set the remaining attributes(Description, Subject etc.) on the email record.
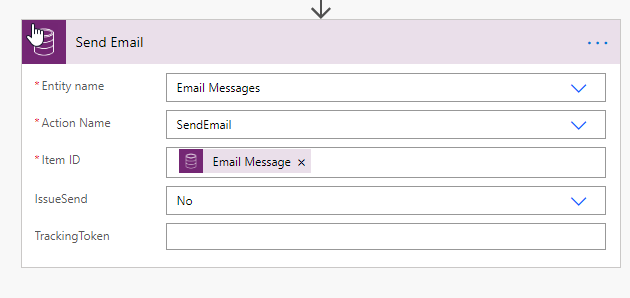
Finally, let's send the Email from the previous step by using the bound action as shown below.
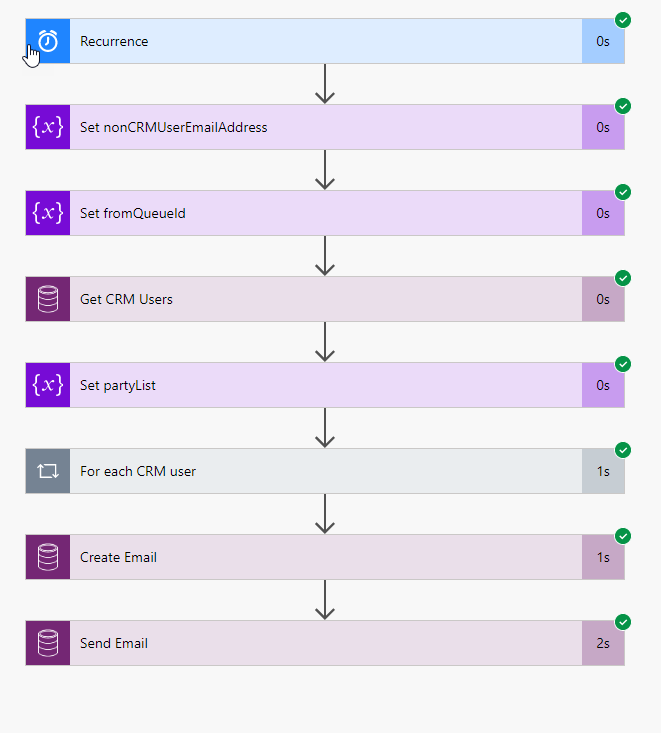
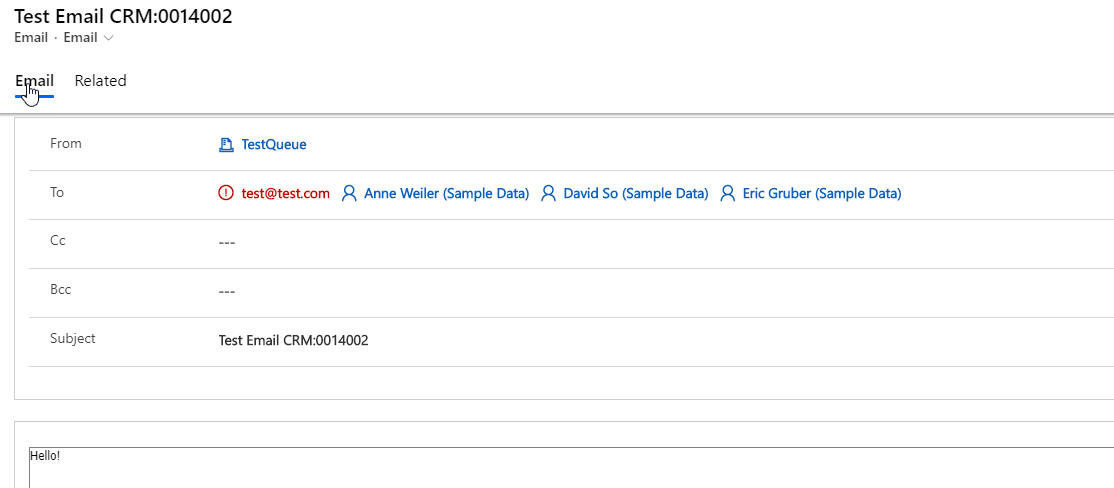
Save the changes and test the flow! If everything went well, you should see an email being created. Here is the completed flow and the generated email from the the sample data I have used.
If for some reason your Power Automate fails on the 'Set partyList' step check the syntax. If you continue to have issues, copy the text into a JSON editor and see if there are any special characters introduced.